Top 8 Homemade Equipment for Exercise: Build a Home Gym Without Spending a Fortune
Homemade Equipment for Exercise: Gym memberships and shiny equipment can feel like the only way to get a real workout, but that’s simply not true. Some of the most effective strength and conditioning tools you can use are sitting in your kitchen cupboard, garage, or recycling bin right now. Water bottles become dumbbells. Sturdy chairs become dip stations. A worn-out towel becomes a sliding disc for core work that’ll leave your abs burning.
This isn’t about “cheating” your way through a workout. Homemade equipment, used correctly, can provide genuine resistance, stability challenges, and range-of-motion benefits comparable to store-bought gear. The trade-off is that you need to be a bit more careful about safety, since these items weren’t engineered for load-bearing exercise the way commercial equipment was.
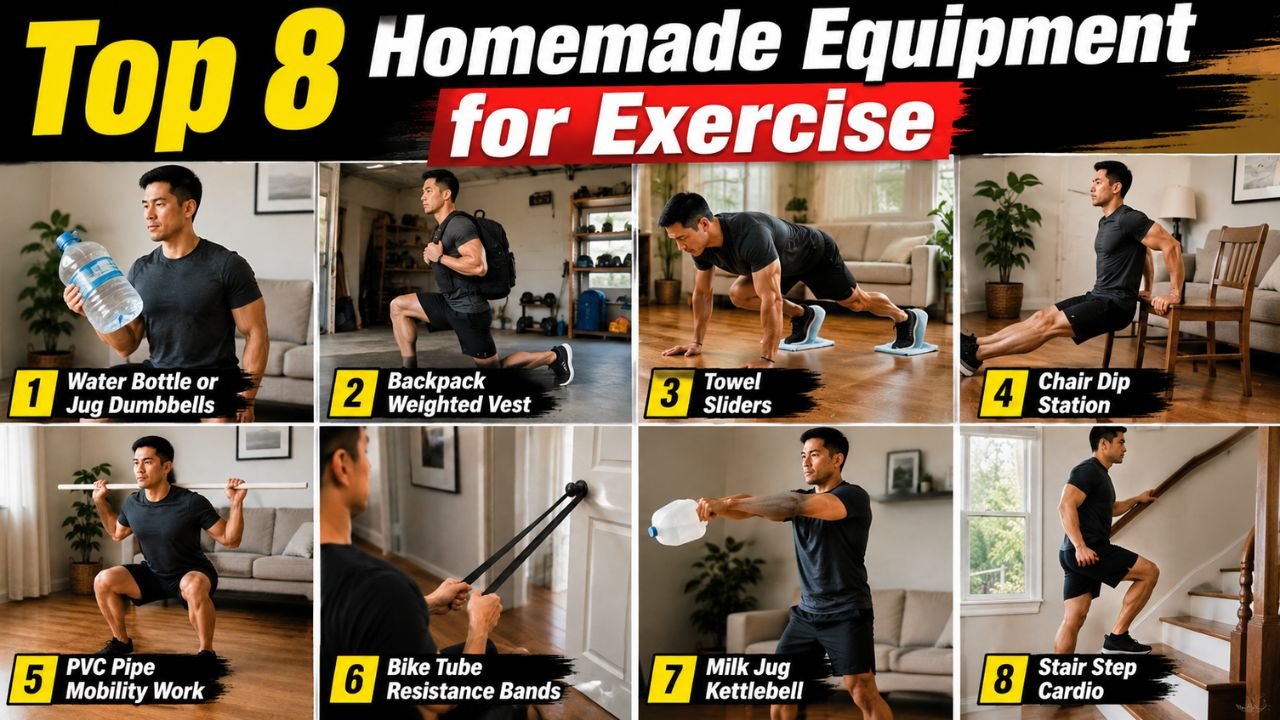
Below are eight of the most practical, tested homemade equipment ideas, along with how to use them safely and what to watch out for.
1. Water Bottle or Jug Dumbbells
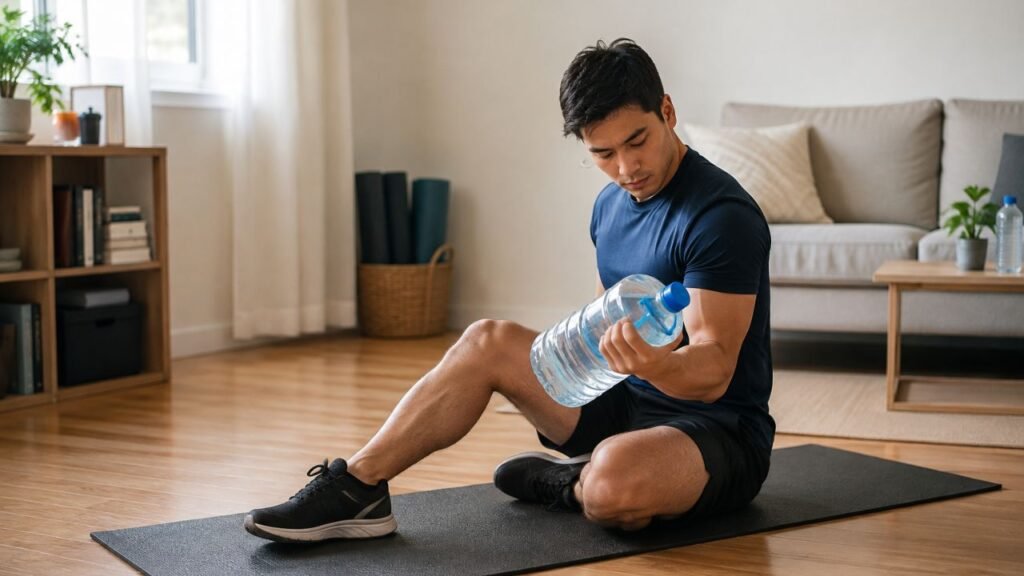
Filled water bottles or gallon jugs are the classic entry point into DIY strength training. A standard 1-liter bottle weighs about 1 kg (2.2 lbs) when full, and a gallon jug of water weighs roughly 3.8 kg (8.3 lbs). Filling them partially lets you fine-tune the resistance to match your current strength level.
How to use them: Bicep curls, shoulder presses, lateral raises, and bent-over rows all work well. For lower body work, hold one in each hand during lunges or squats to add load.
Tips:
- Use bottles with a comfortable, secure grip round jugs with handles are easier to control than smooth cylindrical bottles.
- Sand or small pebbles can be added for extra density if you want more weight than water alone allows, but seal the cap well to avoid leaks mid-set.
Precautions: Check that the cap is tightly sealed before every session. A jug that starts leaking mid-curl is a slip hazard and a workout-ender.
read also: 10 kg weight loss in 1 month diet chart for Female
2. Backpack Weighted Vest or Sandbag
A sturdy backpack loaded with books, canned goods, or bags of rice can substitute for a weighted vest or sandbag. This is one of the most versatile options because you can adjust the load by simply adding or removing items.
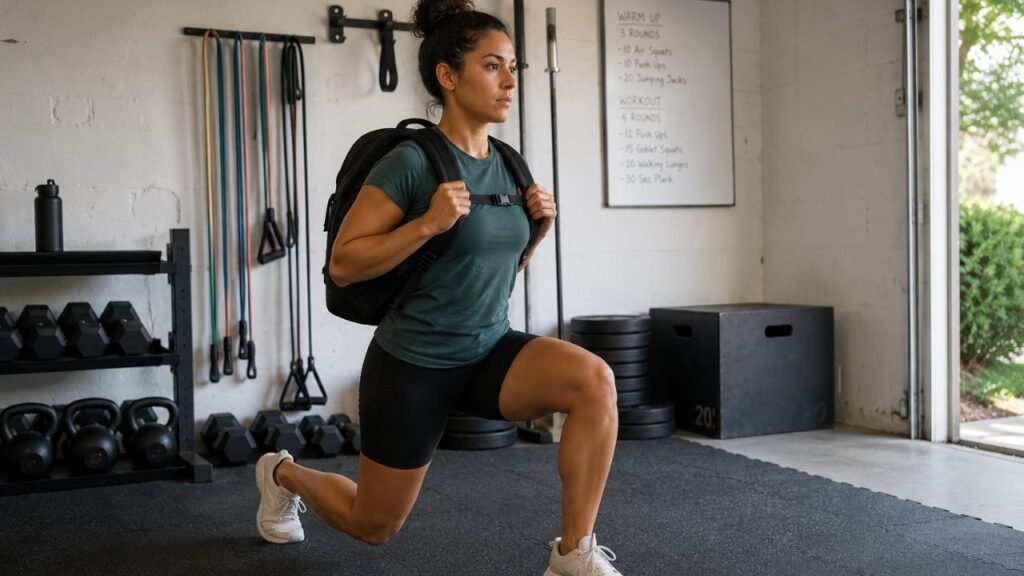
How to use it: Wear it during bodyweight squats, lunges, step-ups, or even brisk walking to increase intensity. You can also hold it against your chest for goblet-squat-style movements, or sling it over one shoulder for carries.
Tips:
- Distribute the weight evenly and pack items tightly so they don’t shift during movement, which can throw off your balance.
- Start lighter than you think you need. Bodyweight movements become noticeably harder with even 5–10% of your body weight added.
Precautions: Choose a backpack with strong, padded straps. Thin straps digging into your shoulders under load can cause numbness or discomfort, and a weak zipper or seam failing mid-set is a real risk with heavier loads.
3. Towel Sliders for Core and Lower Body Work
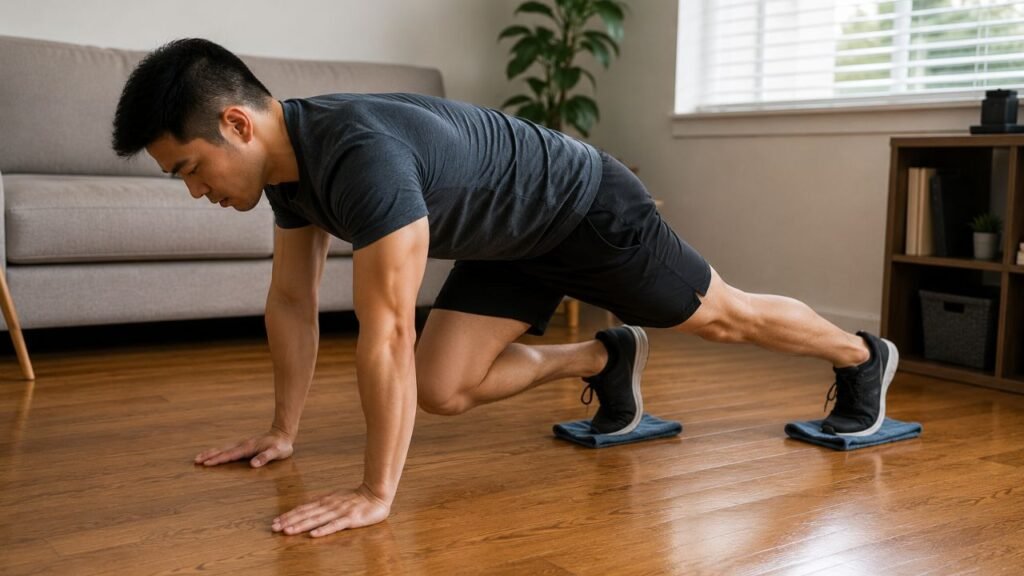
A simple bath towel placed under your feet or hands on a hard, smooth floor (tile, hardwood, or laminate) turns into a sliding disc — similar to gliding discs sold for core training. This works because the reduced friction forces your stabilizing muscles to work harder to control the movement.
How to use it: Try mountain climbers, sliding lunges, hamstring curls (towel under heels, lying on your back), or plank knee tucks. These movements build core stability and eccentric strength in a way that static exercises don’t.
Tips:
- This only works on smooth, hard flooring. Carpet won’t allow the towel to slide.
- Go slowly at first. The instability is the whole point, but it also means these exercises carry a higher risk of losing control if you rush them.
Precautions: Make sure the surrounding area is clear of furniture, since sliding movements cover more ground than stationary ones.
read also: 15 Healthy Halloween Breakfast Ideas for Toddlers
4. Chair Dip Station and Step Platform
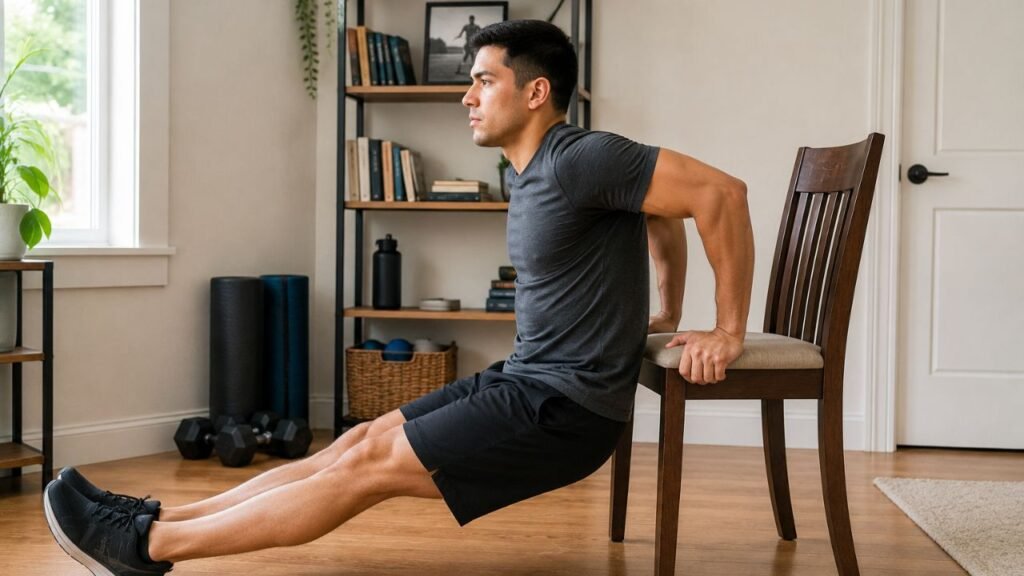
A sturdy, non-wheeled chair (or a low, stable bench) is one of the most useful pieces of “equipment” you’ll never have to buy. It works as a dip station for triceps, a step platform for cardio and step-ups, and an elevated surface for incline or decline push-ups.
How to use it: For triceps dips, place your hands on the seat edge behind you, extend your legs out, and lower your body by bending your elbows. For step-ups, simply step up and down repeatedly, alternating lead legs.
Tips:
- Test the chair’s stability before loading it with your full body weight. Push down firmly on the seat first.
- Wooden or metal-framed chairs with rubber feet tend to be more stable than plastic ones.
Precautions: Never use a chair with wheels, a wobbly leg, or a reclining mechanism for this. If you have any doubt about its stability, don’t risk it — a fall from dip position can injure your wrist or shoulder.
5. PVC Pipe or Broomstick for Mobility and Form Work
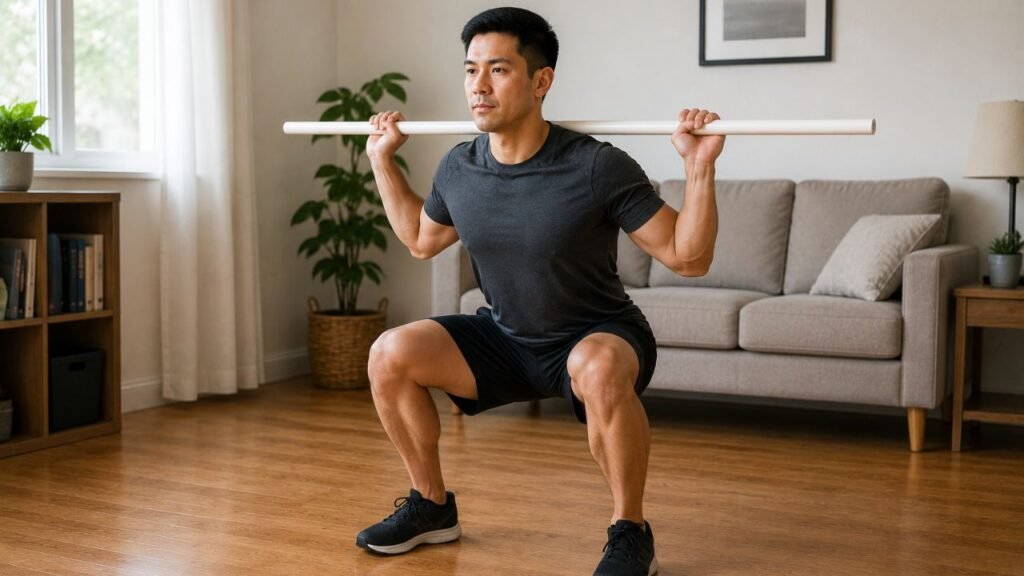
A length of PVC pipe or a plain broomstick (with the broom head removed) is a surprisingly effective tool for improving mobility, practicing movement patterns, and reinforcing good form before adding real weight.
How to use it: Hold it across your shoulders like a barbell to practice squat depth and posture. Use it overhead for shoulder mobility drills, or pass it front-to-back and overhead in a wide grip to loosen tight shoulders.
Tips:
- This is especially useful for beginners learning squat or deadlift mechanics, since it teaches the movement pattern without the risk of a heavy bar.
- A pipe roughly 4–5 feet long and about an inch in diameter is a comfortable size for most adults.
Precautions: Sand down any rough or splintered edges before using it, particularly if it’s an old broomstick.
6. Resistance Bands from Old Bike Inner Tubes
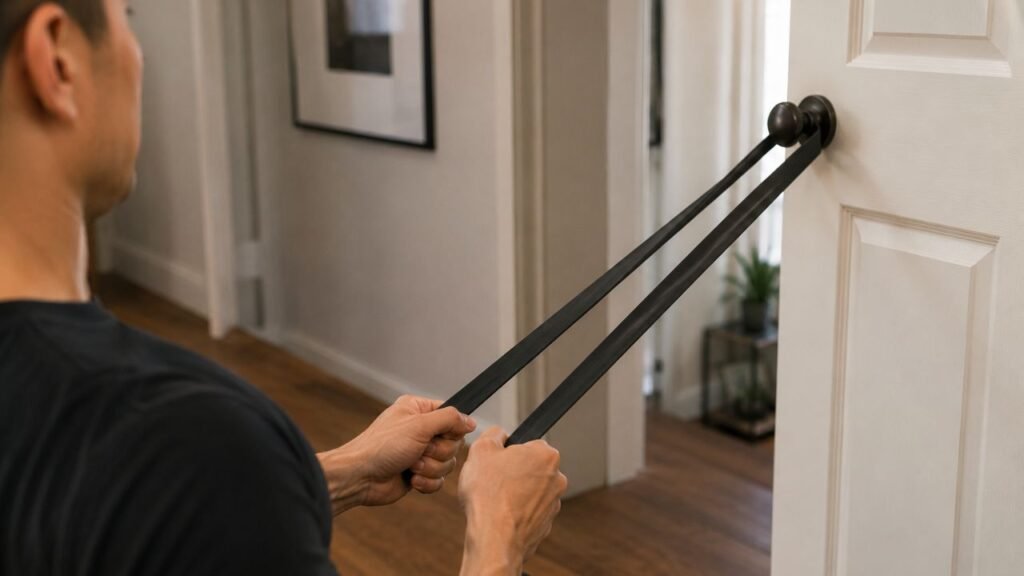
Old bicycle inner tubes, cut into loops, make surprisingly durable resistance bands. Rubber tubing has decent elasticity and can hold up to repeated stretching if it’s still in reasonable condition.
How to use it: Loop it around a sturdy anchor point (a door handle, banister, or heavy furniture leg) for rows, chest presses, and tricep pushdowns. You can also loop it around your ankles for lateral band walks or around your thighs for glute activation work during squats.
Tips:
- Inspect the tube for cracks or thin, worn patches before each use. Rubber degrades over time, especially with sun exposure.
- Tie the loop securely, and double-check the knot holds under tension before committing to a full-range movement.
Precautions: Never anchor a band to something that could pull loose, like a lightweight door or unsecured shelf. If the band snaps mid-stretch, it can whip back with real force — keep your face out of the direct line of tension when possible.
7. Milk Jug Kettlebell
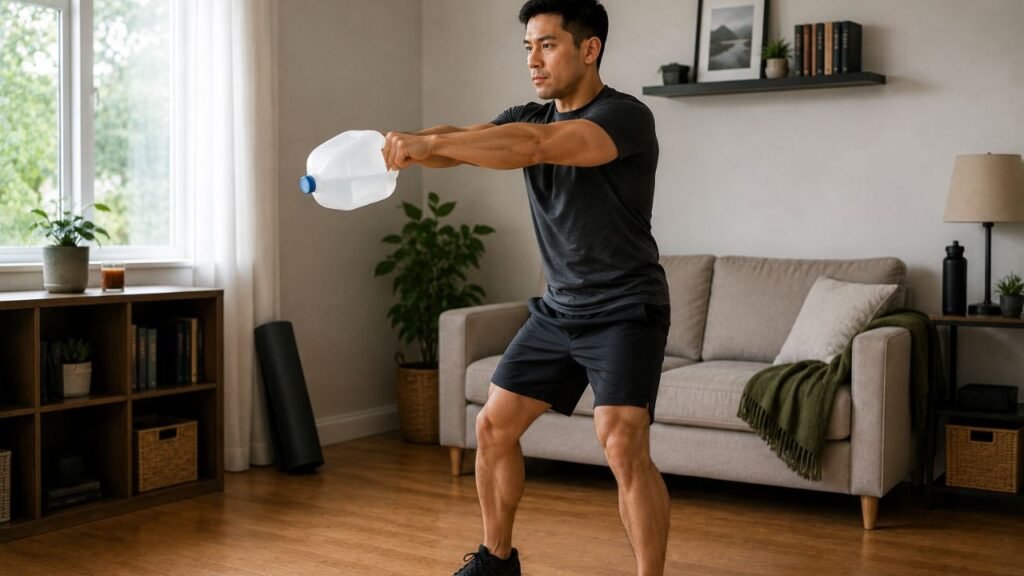
A gallon milk jug or similar container with a built-in handle, filled with water or sand, works as a passable substitute for a kettlebell. The handle placement isn’t identical to a real kettlebell, but it’s close enough for many exercises.
How to use it: Kettlebell swings, goblet squats, and single-arm rows all translate reasonably well. Because the handle sits above the “bell,” the swing motion feels a little different from a cast-iron kettlebell, so start with slower, controlled reps until you get a feel for it.
Tips:
- Sand or fine gravel gives you more weight per volume than water, which is useful if you want a heavier option without an oversized jug.
- Reinforce the handle area with strong tape if it feels like it’s under strain.
Precautions: Plastic handles can crack under repeated ballistic movements like swings. Inspect the handle regularly, and stop immediately if you notice stress cracks.
8. Stair Steps for Cardio and Leg Strength
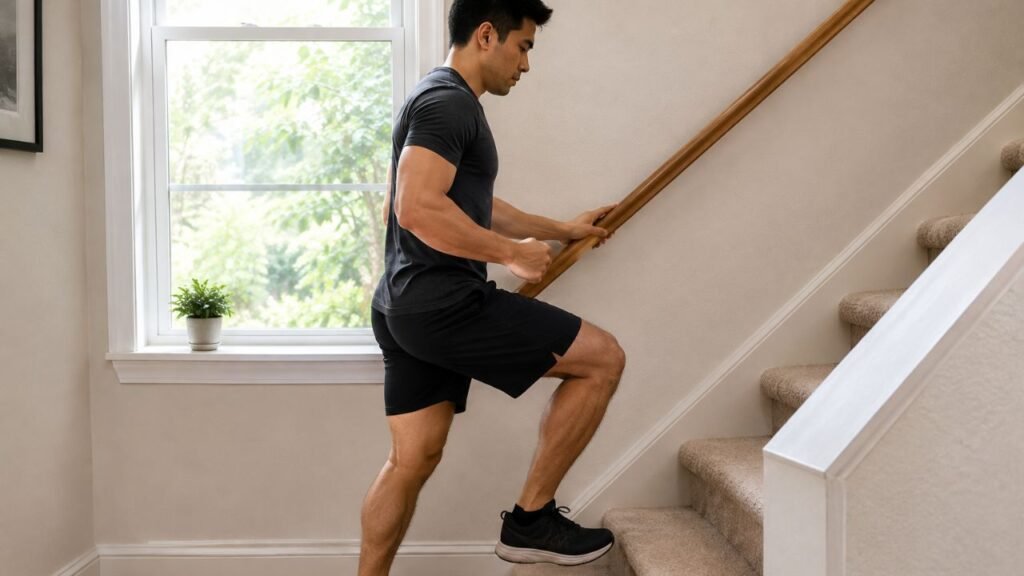
If you have a staircase at home, you already have one of the best pieces of cardio and lower-body equipment available. Stair climbing engages the glutes, quads, hamstrings, and calves, and it elevates heart rate quickly.
How to use it: Simple stair climbing at a brisk pace works as cardio. For strength, try step-ups on a single stair, calf raises off the edge of a step, or single-leg step-downs for balance and control.
Tips:
- Wear supportive, non-slip shoes rather than socks or slippers.
- Keep a hand near the railing during more demanding variations like single-leg step-downs, especially when you’re still learning the movement.
Precautions: Poor lighting or cluttered stairs are a fall risk. Make sure the area is clear and well-lit before starting.
Common Mistakes to Avoid With Homemade Equipment
- Overloading unstable items. A backpack or jug that feels fine at moderate weight can fail once you push it further. Increase load gradually and inspect gear often.
- Skipping the stability check. Chairs, tables, and shelves used for support or as workout surfaces should always be tested for wobble before you commit your body weight to them.
- Ignoring wear and tear. Rubber tubing, plastic handles, and fabric straps degrade with use. What was safe three months ago might not be safe today.
- Using slippery footwear or flooring. Many homemade-equipment exercises rely on a stable base. Bare feet on tile or worn-out socks on hardwood increase slip risk.
- Rushing progressive overload. It’s tempting to keep adding water or books to feel stronger progress, but form should always come before load.
Frequently Asked Questions
Is homemade equipment as effective as gym equipment? For many exercises, yes — resistance is resistance, whether it comes from a dumbbell or a filled water jug. The main differences are precision (it’s harder to know the exact weight) and durability (household items aren’t built for repeated heavy loading).
How do I know how much a homemade weight weighs? A kitchen scale is the easiest way to measure sand, rice, or water accurately. As a rough reference, water weighs 1 kg per liter, so a 2-liter bottle filled completely is about 2 kg (4.4 lbs).
Can I build real strength with household items? Yes, particularly for beginners and intermediate lifters. Progressive overload — gradually increasing resistance, reps, or difficulty — is the key driver of strength gains, and that principle works whether the load comes from a barbell or a backpack full of books.
When should I switch to real equipment? Once you’re consistently able to lift or move a homemade item with good form and it no longer challenges you, it’s a sign you’ve outgrown what household objects can offer. At that point, adjustable dumbbells or resistance bands designed for fitness use are a worthwhile investment.
Is it safe to do ballistic movements, like swings, with homemade weights? Only with well-tested, sturdy equipment. Ballistic movements put sudden stress on handles and seams, so this is where homemade gear is most likely to fail. If you’re not confident in the durability of your DIY kettlebell or jug, stick to slower, controlled movements instead.
Homemade equipment won’t replace a fully equipped gym, but it removes a lot of the excuses that keep people from training consistently. The best workout program is the one you actually do, and sometimes that starts with a water bottle and a sturdy chair.